Pages

Showing posts with label antiques. Show all posts

Tuesday, January 31, 2012

Discontinued China

I love blue dishes...but my all time favorite is a set my husband gave me for Christmas in 1983.  They are called "Denmark", and are made by Franciscan.  Originally I received 8 place settings and a few serving pieces...
but with all things we love...this pattern has been discontinued.
Sad day!

However, there were many other companies that made "similar" patterns over the years.  I like to find "odds and ends" that don't necessarily match, but work with this pattern.  It's like a perpetual scavenger hunt!

I found these three pieces in a resell shop last week.
The egg cups are not marked, however the tea pot is made by Furnivals and is also called Denmark.


This pretty oval bowl is by Schumann and called Bavaria.


The divided dish is by Villeroy & Boch and the pattern is Saxony.


These small bowls are a much darker blue and have no markings.
(The plates underneath are my original Franciscan dishes.) 


The darker blue is much more apparent in this picture.


I love all these pieces used together.

Here are several pieces made by other manufacturers:
Jager - can't see the name of the pattern
Churchill
Yorktown by Salem China (Olde Staffordshire)
Royal - Delft Modern
Myott - Finlandia


This is Royal Copenhagen’s Blue Fluted pattern.  It is as graceful as when it was first adopted in 1775 as the very first porcelain dinner service.
A more modern take on this pattern is called Mega Blue Fluted by Royal Copenhagen.
How pretty to mix and match these with the older versions of my Denmark pattern.

So many names for ONE pattern that sets a beautiful table and has the ability to mix and match with so many different pieces from other manufacturers.


Always on the hunt...
till tomorrow,
debi

Thursday, August 25, 2011

Buchanan Market Weekend

I'm busy working on the last of the projects for my booth this weekend!
I got a coat of wax on the desk...aging the map a little more and sealing the rest of the black paint with a bit of a finish.


I love the maps on the drawers....especially being old Texas maps!


The top of the desk is blackboard paint (not waxed...just to be perfectly clear!)  A bit of chalk and a little imagination can set a child free to create!


My last "big" project was this table that I found along the curb many years ago.  I have enjoyed this table for a good many years...but it's ready for a new home!
I sanded the top of all old finish and lightly sanded the legs and side so as to make it appear more distressed.


I painted the sides with two colors, the top line with a light teel and the bottom with white.  I left the small "trim" around the middle the natural  mahogany color.


Once dried and cured for several hours I started my waxing with the Briwax.  The wax soaked in the raw wood strip, but went on very smoothly along the top of the paint.  Once is has a few minutes to dry, I begin buffing out the wax to a soft sheen.


The same technique was used on the legs of the table.  The wax sticks in the cracks and highlights the nooks and crannies of a piece of furniture.


The top of the table was taken down to the "raw" wood.  When applying the wax to the top it really soaked it up!  Before I began waxing I hand-painted a design along the edge in black craft paint.
(I found some flourish designs on the Internet and just copied what I saw!) 


The finished table.  The teel is almost indistinguishable, but noticeable.  I also dry brushed a little bit of the teel along the legs (before waxing) just to highlight the details.


The top of the table really soaked in the wax due to how dry the wood was, but it was worth the effort and elbow grease to get it to this soft buttery finish!


I think the finished project will find a perfect home this weekend! 


Still a few things to tidy up before we set our booth up tomorrow.  Be sure to stop by and visit with us this weekend at Buchanan's. (I've just been informed this link does not show this weekend as one of the Lewisville dates, but rest assured we are in Lewisville.  The address is the one listed on this website!)  I would love to meet each of you personally! 

Till tomorrow,
debi

P.S.You can also follow my new adventures on Facebook!

Tuesday, August 23, 2011

Child Desk

I found this cute little desk while junkin' recently.  It is in sad shape...but I could see past the ugly to what it's potential could be!


I began this project by sanding the glossy finish off the top. 
I had a great old map of Texas and I knew I wanted to use it on the desk.


I wrapped both sides of the desk,


and all the drawers in the map image.


The top of the desk is painted with chalkboard paint.


I think I still want to "age" the map a little more and add a finishing coat of wax.
I've been working on finishing some of the projects that have been "in process" around here! 
I'm off to Buchanan's Antique and Collectible Market this weekend.
Linda and I are planning to have a FULL booth.of stuff, and Prissy Hippie is going to be our neighbor (they sell jewelry).  If you are in the Lewisville area, stop by and say "howdy"!!! 

Well...another table awaits some paint!

Till tomorrow,
debi


Saturday, August 20, 2011

Auction Hunting!

Going to an auction is a FUN activity!  However...you have to make sure to get there early enough to look over each piece you are interested in and then determine what your top bid will be for that particular item.
I spotted this bed one Friday night and just knew how I wanted to paint it and how it would look when finished.  (I got a vision!) LOL!!!
In the end it's exciting to win the bid and know the piece is coming home with you!


I began by dry brushing the whole bed.  I didn't want it to be thick with paint, but allow some of the grain to show through.  The bed was not in the best condition, but a little TLC can make anything look good!


The light teal paint gave the bed a whole new feel!


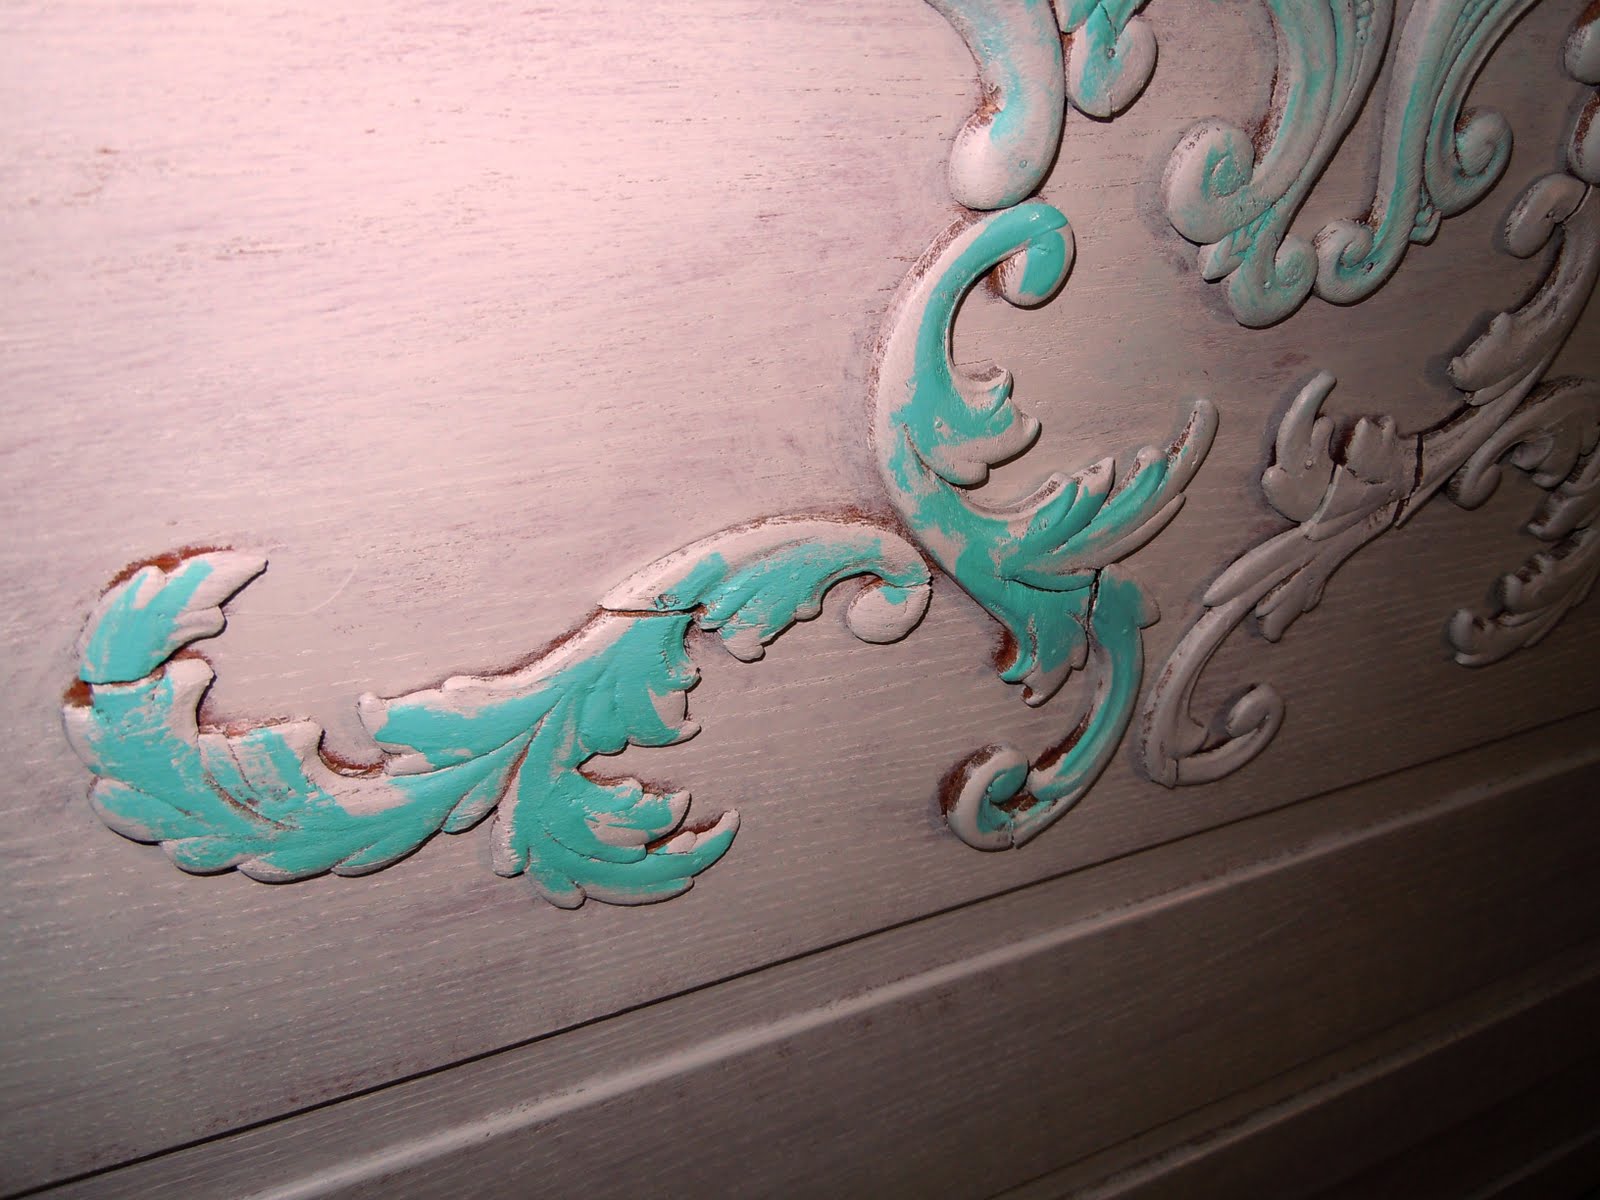
I used a darker mix of teal with white to highlight the relief on the bed.


Here is the finished bed headboard and footboard.


The lettering I did on the footboard is very simple to do.


I decide on my wording and fonts...then print them the size I need from my printer.  I use print preview to be sure a letter is not cut down the middle when printing.
Once I piece them together I use graphite paper to trace the words onto the footboard.


I know you can buy large stencils (very expensive the larger they are.)  I've used this technique to paint words on walls also.


You can find hundreds of free fonts at 101FreeFonts  or Dafont
Print your lettering whatever size you wish then trace it onto your wall.  It's a very inexpensive way to get the "wall words" you want without spending a fortune.  It will only cost you a little time and effort.


Well, two more projects on the list for today!  We'll see how far I get!!!


I'm excited to get going on this small child's desk!


Till tomorrow...
debi

You can follow my new adventures on Facebook!

Friday, August 19, 2011

Official!!


The last few days I've been working on an old side table I picked up at an Estate Sale.
It was in really wobbly shape, so after some new screws, glue and paint...she was ready to sell...well, almost!


First, I decided I would try the CitraSolv technique on top.  Seems every one's doing it, so I might as well give it a try.  I gathered my supplies, and had my picture printed on a copier. 


I found my picture on the Graphics Fairy here!
I painted the CitraSolv on the back...


then began burnishing it with a credit card. (I save all the ones the banks send in the mail to use to smooth out decoupage projects and to burnish things.)


There were a few areas that did not come through very well when I took a peek, so I took a pencil and ran along a few of the lines I wanted to be a bit darker. The CitraSolv acted like transfer paper in the areas that would not burnish.


Next, I wanted to add color to my picture.


Once that was dry I sanded the top down to soften the color.


Next comes the wax! 


The wax gives it a more aged effect.


I also added the word "READING" on the side pockets, and waxed the rest of the table.


I like the aged look of this little table.


I think painting the design on top added to the vintage look.


It's ready to take to the booth...and I'm already on to the next project.  More on that later!


Till tomorrow...
debi