Pages

Showing posts with label cooking. Show all posts

Sunday, July 8, 2012

Mock Strawberry-Fig Preserves

I have been off work for several days now (all celebrating the 4th of July, of course!)

Peter and I were able to complete several projects that have been on my 'to do' list for months!  I'll show some of the other projects this week, but for today...we'll make preserves!

Figs are ready and unless I pick them everyday, "The Devil" (Mr. Mockingbird) will poke his beak into each and everyone of them...take only one poke, then move on to the next ripe one.


Ashley also got figs from the farm where she is working, so we had plenty of figs to use for our preserve making time.

First, gather the supplies:  figs, strawberry jello, sugar, wax and our sterilized jars.

Begin the process by washing the figs and removing the stems.  Once clean, mash them up (skin and all.)


Lauren manned adding the strawberry jello

and the sugar.  She used her math skills (fractions) to keep track of how much sugar she needed each time we added 3 cups of figs.


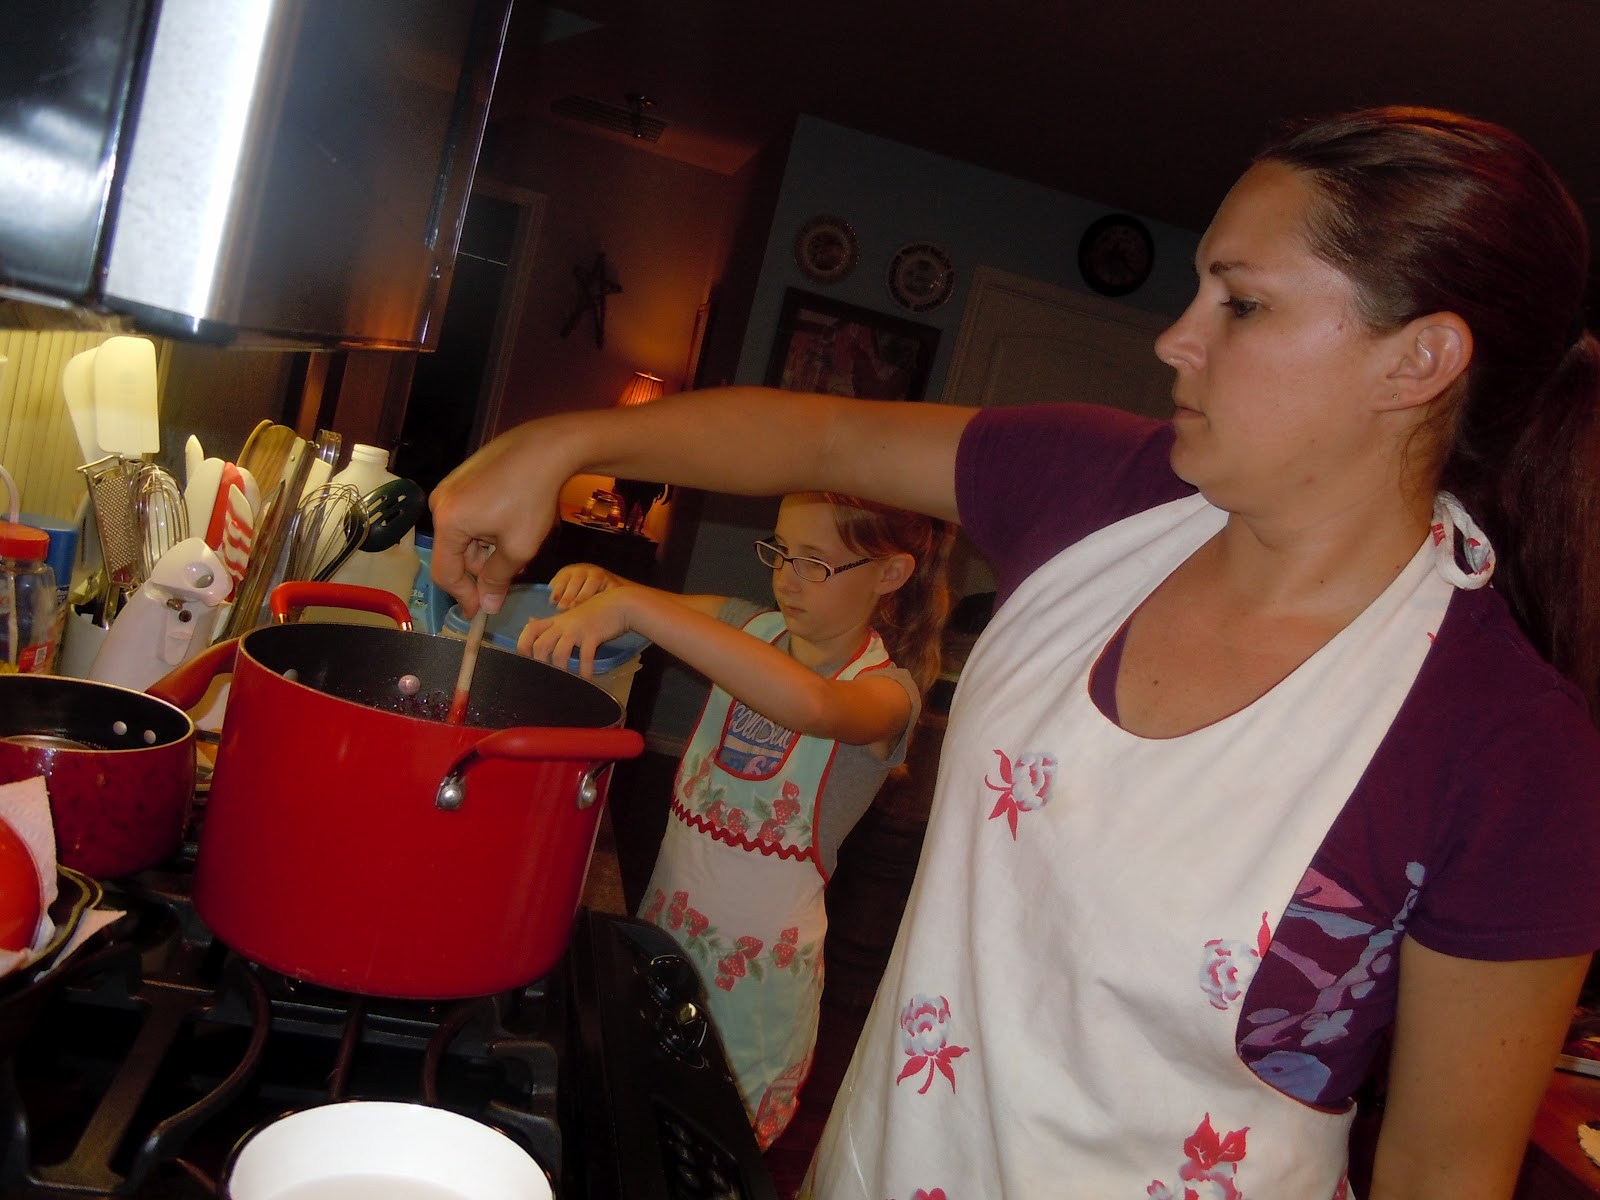
Stir the figs, sugar and strawberry jello together and mix it well.  Once it comes to a boil, cook for 3 to 5 minutes.


The jars are ready for the hot, sweet mixture.


Our jars were sealed with paraffin wax and when cool we'll add the lids to the jars and they're ready to take to the Farmer's Market.  Ashley has been manning the booth at the Greenville Farmers Market on Saturday's...so she'll have some sweet treats for next Saturday!


Once we completed our project Ashley decided we "needed" to see how big a hole we'll need to knock in her kitchen wall.  (She's been on a burn since completing the Chicken Coop to get the wall knocked down between the kitchen and their living room.)


Lauren took the first swing at the wall and knocked the hole in the sheet rock.  She was pretty excited!


Nice hole...maybe we need a bigger hole to peek into the next room.


Now we can see the other room... 

I'm sure now that the hole is there, by the time I come back out to the farm the sheet rock will be down on both sides of the wall!  (Notice when she painted her kitchen she did not paint the middle of the wall...all her plan to make sure there would be a doorway eventually!)

Till tomorrow...
debi

P.S.  Here is the complete recipe for the Fig Preserves (Thanks Mom!)

Mock Strawberry Jam made with Figs
3 cups figs, mashed and crushed well (using skin and all)
2 1/2 cups sugar
2 (3 oz.) pkg. strawberry Jell-O

Wash figs. Cut off stems. Mash/crush completely. Place mashed figs, Jell-O and sugar in a large saucepan. Bring to a boil. Boil for 3 to 5 minutes, stirring constantly.

Pour quickly into sterilized jars. Seal immediately or cover immediately with melted paraffin
.

Monday, December 12, 2011

Christmas Party Appetizers

Another party...another appetizer!  Since this one was a breakfast "brunch" I thought I'd bring a "breakfast appetizers...is there such a thing?)  Oh well...there is NOW!

I checked my pantry first to see whether I had some dates on hand and found a package of Dole dates that I had purchased earlier.  However, when I went to purchase some more, it took me forever before I found them...different brand, different packaging and different grocery store!  How complicated can purchasing some dried fruit be?
For this recipe you will need about 1.5 packages of dates...so be sure and purchase two!

You will also need a package of Maple-flavored bacon (which gives a great flavor.)


That's it!  Two ingredients!
I begin by cutingt the bacon into thirds.  There are usually about 15 slicess of bacon in a package, so this will give you about 45 individual appetizers.


Wrap a piece of bacon around the date and secure with a toothpick. (If you don't have toothpicks, not to worry.  When the bacon cooks it adheres to itself, the toothpick is only helpful when someone wants to pick up one and place it on their plate.  No toothpicks also means no trash or need of plates!) 
I place the wrapped dates in a jelly-roll pan so that the grease is contained. (We all know...bacon makes grease! YUM!)


For SOME reason...I don't have a picture of the finished product.  I took them out of the oven and we ran to the party...and they were "ate up" instantly!!!

Now...a small word about this appetizer.  Most people will eat bacon wrapped "anything!"  Bacon makes everything taste good.  BUT...there is a mental block with "some" that says "I HATE DATES!"   Once they've made that statement out loud...they won't even take a bite!
SOOOOO...until they've tasted them, don't tell them what's in the middle of the bacon!!!  They'll be happy you kept it a secret.

Ingredients:
  • Maple Flavored Bacon
  • 2 packages of dates
  • Toothpicks - if so desired
Directions:
  1. Preheat oven to 375 degrees F.
  2. Wrap each date with 1 bacon piece; secure with toothpick.
  3. Arrange on a jelly-roll pans.  Bake 25 to 30 minutes or until bacon is crisp, turning once.  

 When the dates are properly crisp enough, I place them on  a paper-towel-lined plate to drain off any excess grease.  Transfer them to your pretty serving platter; serve immediately. (Now if you are transporting them to another place...you can re-heat them for about 30+ seconds in the microwave. However, I can eat them cold and they are still delicious!)

Till tomorrow...and another appetizer (tis the season)!
debi

Thursday, December 1, 2011

Holiday Appetizer - Stuffed Jalapenos

Lots of parties are already happening...and sometimes I'm asked to bring finger foods or appetizers.

One of my families all time favorite appetizer is stuffed jalapenos.
I can remember "popping" them into my mouth while waiting for my grandmother to finish cooking Christmas dinner.
Sweet memories!


You will need to purchase the picked jalapeno peppers for this recipe.  You can usually find them in a can in the Mexican Food isle (of course I remember living in Canada and having NO Mexican Food isle in the grocery store...such a sad time!)  You'll also need a big ole' can of tuna. 


The peppers need to have the tops and stems removed.  They need to be cut in half  (lengthwise) and all the seeds removed.  I usually wear gloves when I do this job.  The juice is HOT and not easily washed off.  Even hours later, when I go to take my contacts out I will feel the burn of the pepper juice and curse the day I ever touched them!


So...remember the "guts" are HOT stuff, just dump it right into the trash!


For the tuna...mayonnaise, salt and pepper to taste and grated jack cheese.
I usually just throw in a handful of cheese.  (My grandmother NEVER measured a thing!)


Once you get them all stuffed (keep your gloves on for the stuffing) and arranged on a pretty tray, sprinkle a little more cheese on top.


Now...enjoy! 
I brought this tray home empty the other night and everyone wanted to know how to make them.
Of course, that's after I would hear comments on the "odd combination" of ingredients.  They soon got over it and before I knew it they were popping them in their mouth and chowing down.
But remember, here in Texas we'll stuff a jalapeno with just about anything!

Till tomorrow...
debi

Saturday, July 9, 2011

Sweet Treats

If you are looking for some "sweet treats" to whip up on a hot Saturday, then you should check out Lisa's Sweet as Sugar Cookies blog!  She's having a party and there are some delicious looking recipes that have been posted.  Of course I'm going to check out the Blackberry Dumplings, Blackberry Peach Pie and the Blackberry Ice Cream.  I've got my eye on a couple of chocolate recipes also, but the blackberry treats are a good place to start. 

My blackberry bushes are pretty well bloomed out this year and that "devil" Mockingbird got his fair share again.  I saw him in the fig tree yesterday while I was watering...so I'm going to have to keep my eye on him so he doesn't get all the best figs!

We did some work earlier this morning on our covered deck area outside. We hung curtains so we can keep the sun out as it sets in the evening. Even with the afternoon heat, our overhead fan and a strong breeze make a little time on the deck a pleasant early evening activity, but the sun can still be really hot at that time of day.  The curtains can be pulled together until the sun sets to give relief.  Next on the outdoor list is lighting and misters.


Today...I'm determined to finish the guest room.  All the furniture is in place and we got the first layer of curtains hung.  I haven't decided on the final outcome for curtains...but I have time.  Once I finish hanging items on the walls I'll post pictures. 

till tomorrow...
debi 

Wednesday, October 20, 2010

Left over Pumpkin Seeds - Pumpkin Seed Toffee

When last we "met" I still had all those left over pumpkin seeds.  I cleaned the "slimy pumpkin gunk" off of them. (Yes, that's a real cooking term!) and sprinkled the seeds with sea salt and chili powder.  My husband loves to munch on them and likes them spicy. 
I put them in the oven at about 200 degrees and they were slowly roasting (stirring them up often.)


In between stirrings, I thought I'd just look around on the Internet for other pumpkin seed recipes and see what might be "new" out there.  WELL...I found a recipe for Chili Pumpkin Seed Toffee.  Sounded too good to pass up!
The blog is "In Praise of Leftovers" and is written by the Leftoverist (Sarah).
She has a lot of great ideas for those items "lurking" in the back of your fridge.
As I read her recipe I realized she did not fix her pumpkins seeds first (as I was doing) but instead used them as is...then sprinkled salt and chili powder on top of the Toffee.
Not deterred!
Looking in my own fridge - I had all the ingredients. (One butter is missing...I already dropped it in the pot to begin melting.)


Sarah gave some very helpful and specific hints about using the candy thermometer.  I found her instructions clear and precise.


I did not have a jelly roll pan, so I lined a regular pan with parchment paper.


I sprinkled on the semi-sweet chocolate chips


and spread them over the top.


I will not steal Sarah's thunder or her precise instructions.  You can find them here and follow her complete directions.  I've listed the ingredients and the steps necessary to make the Toffee. 

I sprinkled my roasted pumpkin seeds in the mixture, as directed, and on top.  My seeds were roasted with the chili powder and the salt, but I did add more on top before the mixture completely cooled.

I must say...it is delicious.  Just enough sweet and salt!  I think it would be perfect on top of Blue Belle Vanilla Bean Ice Cream......

Be sure and check out "In Praise of Leftovers"...I'm sure you'll find something you'd like to make.  And leave the Leftoverist a sweet note!
Ingredients:

1 cup (two sticks) butter, plus a little extra for buttering the saucepan and baking sheet
1 c. sugar
3 Tbs. water
1 T 1 Tbs. light corn syrup
1 cup pumpkin seeds (or you can use chopped almonds or hazelnuts, toasted) I would probably use pecans also.
3/4 c. finely chopped bittersweet chocolate (or semi semisweet chocolate chips)

Directions:

Butter the sides of a heavy 2-qt. saucepan, then melt 1 c. butter in it. Butter a baking sheet with sides.

Add sugar, water, and corn syrup, cooking and stirring over medium heat until the sugar dissolves and the mixture boils. Continue cooking and stirring until the mixture reaches 290 degrees, watching carefully after 280 degrees. (Note: The temperature will hover close to boiling, 212 degrees, for awhile as the water boils off. Don’t be fooled into thinking you can leave the pan unattended or stop watching the temperature. Once the excess water is gone, the temperature will shoot up fast.)

Remove from heat and quickly and carefully stir in 1/2 c. of pumpkin seeds.

Carefully pour the hot mixture onto the buttered baking sheet. After 3 minutes (and not a second less, as I discovered), sprinkle the surface with chocolate. When the chocolate begins to melt, spread it evenly over the candy. Sprinkle the remaining nuts over the top.

Chill at least 15 minutes until firm, then break into pieces.  Sprinkle  1/2 tsp. flaked salt and a smidgen of Ancho chile powder.

Tuesday, October 19, 2010

Kürbis - Pickled Pumpkin

I'm sure you've noticed I've been away.  My husband and I took a little break and headed to the beach! 
He is in the middle of a lot of renovations and moves at work, so this was a perfect time to squeeze in a little time for us.  The weather was glorious and the temperature was perfect (cool nights and warm days.)  The Gulf is still warm and inviting and there were plenty of shells to pick up under the glassy water.

The wild life was everywhere...sea turtles, birds, butterflies.  As you can tell, we had a perfect time!


Now to the topic at hand...Kürbis!
For those of you NOT German... it's pumpkin!
It's also "shorthand" for pumpkin pickles. If you are lucky enough to have a German (or European) Deli near your home, you can pick up a jar to bring home and try.


However, I know many of you don't have that luxury...so I'm going to tell you how to make your own.
 
I first learned of Kürbis in the late 1970's while living with a German family on Long Island, NY. (Thank you RT for sharing your mama!)
OmaF was a great cook and I learned much from her.  I've come to believe she was my "preparatory school" before meeting my future MIL "OmaR". 
OmaF had certain ways that things were to be done...and it was always done that way!  OmaF also does not have recipes (neither does OmaR!)  They both learned to cook from their mother's in Germany before they immigrated.
Cooking with the Oma's always requires that you pay close attention when ingredients are added and how things are prepared.
 
Years later, while trying to write those recipes down, I would ask her for ingredients, measurements, times, oven temps...etc.  To NO AVAIL!  Some recipes (Rote Grütze for example) I only have the ingredients...no measurements.

So, with that in mind, here is the recipe I received from OmaF:
 
Ingredients:
Pumpkin
3 cups sugar
1 cup vinegar
Cloves

I've figured out some things on my own, so I'll also give you some hints as to how I've learned to make my batch of Kürbis each year.
I start with about a 4 lb pumpkin.  You can adjust if you want to make more, but that would be the least I would start with...so you feel it makes it worthwhile for all the cutting you're going to be doing.


Like I said...cloves, but OmaR says it has to have cinnamon...(she agreed with the ingredients...and the amounts but insisted it have cinnamon.)


Now OmaF was very specific about cutting off the skin...unless you want to break your teeth.  I laughed and told her I would make that batch for people I didn't like.  She didn't laugh (those Germans!)

 Directions:
Cut all pumpkin at once to cook it all together.
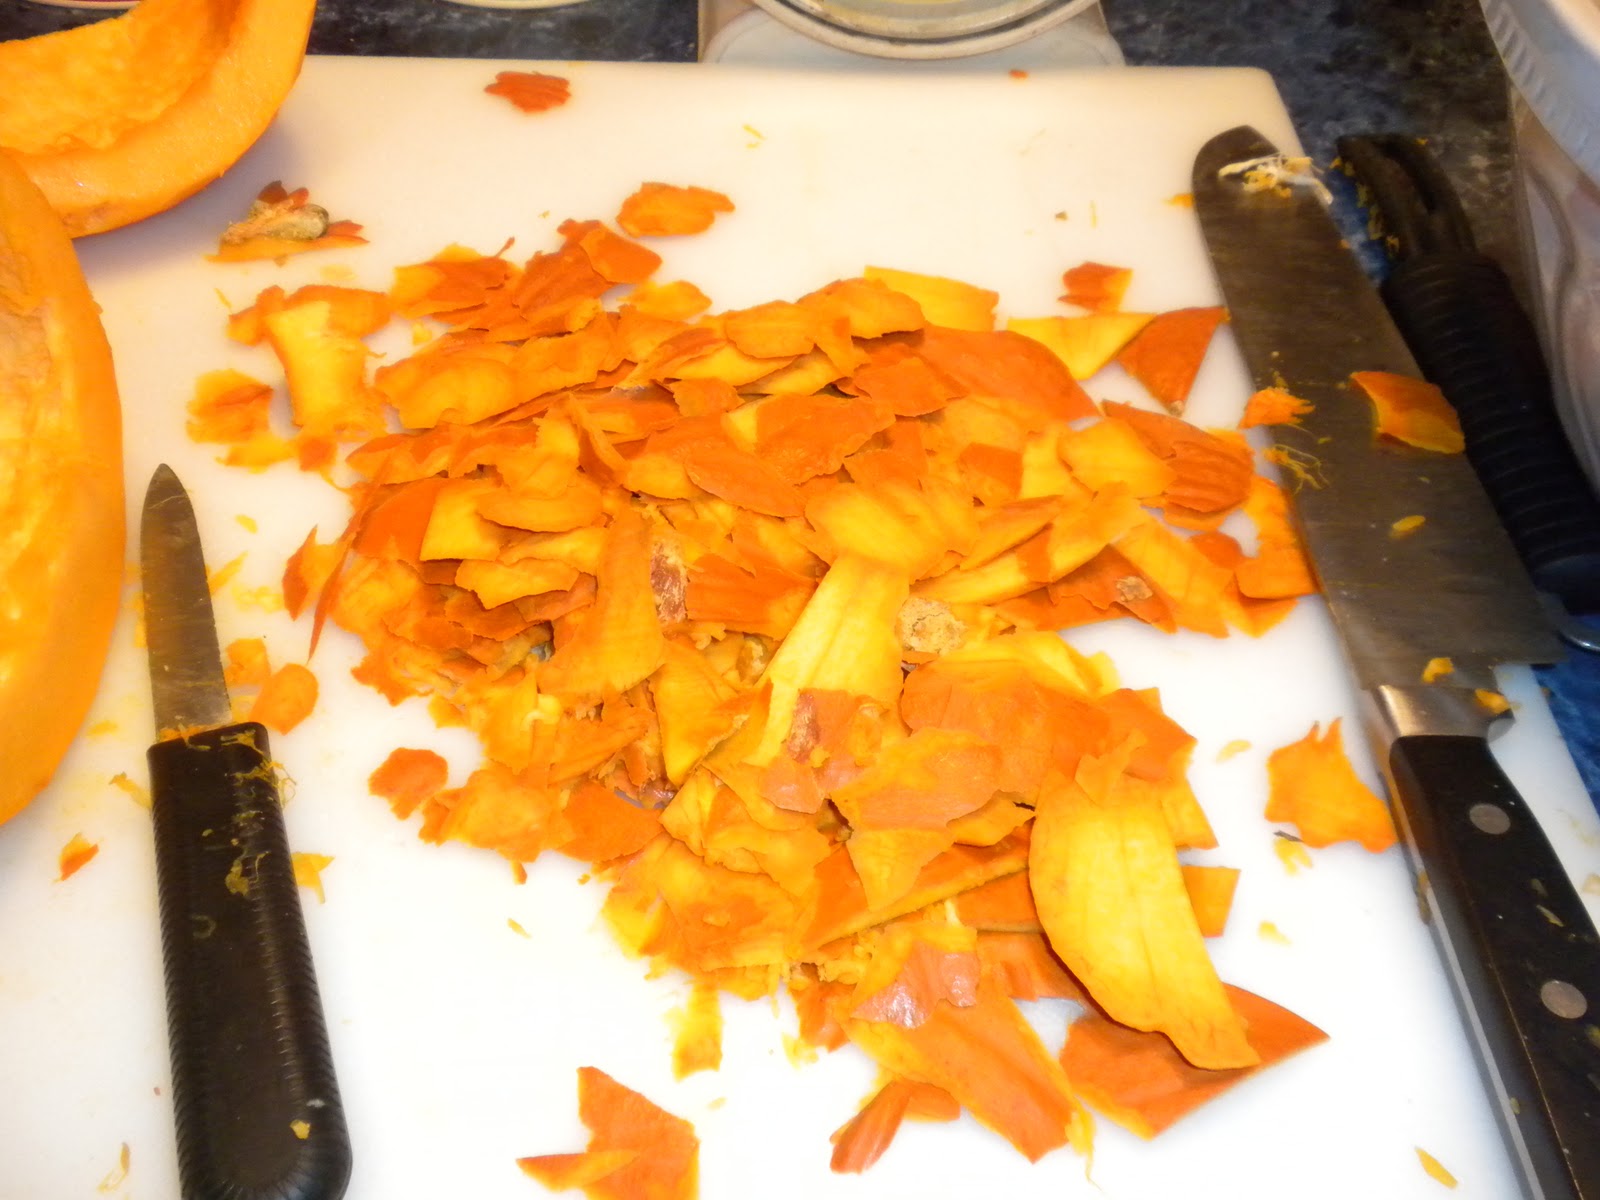
I love how specific she is...so I'm peeling!

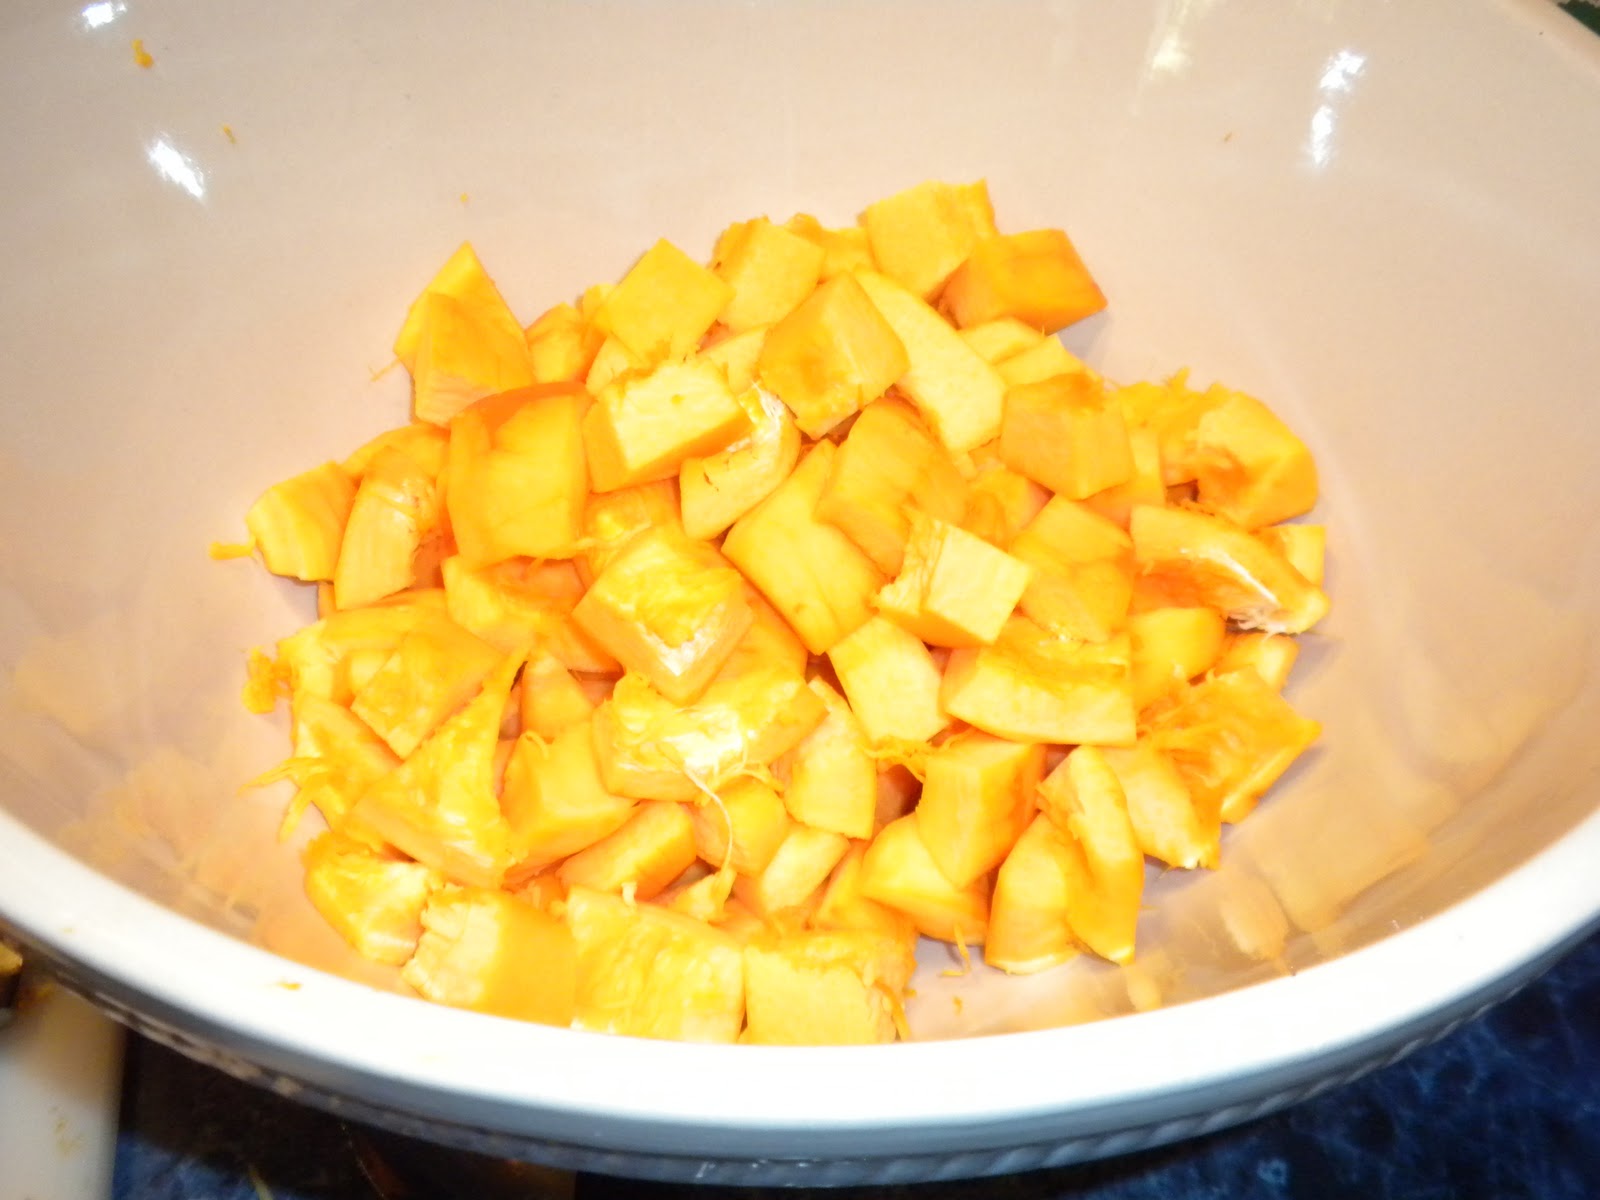
and I'm cutting.


She usually cuts larger pieces, but I'm not using big jars and I want the pieces to be more bite size (I'm sure I'll get a bad grade for that...against her rules!)

 
Next...
Bring to boil the cloves, sugar and vinegar.


While this is boiling I'm also preparing the lids for the canning jars.  I've put the jars through a dishwasher cycle so they'll be hot and ready for the Kürbis when it's finished cooking.


Once the sugar, vinegar, cloves and cinnamon have started to boil, place pumpkin pieces in the boiling liquid and keep at a low rolling boil. (The liquid will not cover it all).


Stir and continue cooking until pumpkin is glassy looking (clear).
The Kürbis will boil down some and you will be able to see the change in the color and look.  It truly will become glassy looking.


 Store in jars, cover with juice and store in fridge.  At this point OmaF takes the cloves out so as not to stain the pumpkin.  I like to leave a few in each jar, but I do take out the cinnamon sticks.


At this point OmaF lets the Kürbis cool and puts the jars in the refrigerator to be eaten (usually by the end of the year.)  She told me yesterday that she found one in the back of the fridge left over from last year and it tasted perfectly fine.  She'd never had one left over before, so she was a little amazed that it was still good.
 
OmaF has had to relocate recently and she said she was missing her kitchen.  I'm not sure she's up to cooking anymore, but she was an excellent cook in days past.  I have many wonderful recipes and memories from our times together.
 
I usually make Kürbis every fall.  Many times when OmaR was visiting she would tell me about her canning days and give me helpful pointers...of what I was doing wrong.  She is the one that pointed out I needed cinnamon in my Kürbis.  I'm sure "many cooks spoil the broth"...but I'm thankful for both Oma's and the knowledge they've "passed on" to me.  This fall I'll be sharing more German recipes from OmaF and OmaR...I'll have to work on those measurements, though. 
 
Through trial and error here is the recipe I made today.
 
Kürbis


Ingredients:
Fresh Pumpkin - about 4 pounds
3 cups sugar
1 cup vinegar
Cloves (1 tablespoon or more if you like stronger flavor)
Cinnamon sticks - 4 to 6

Directions:
Peel and cut all pumpkin at once to cook it all together.
Bring to boil the cloves, cinnamon, sugar and vinegar.
Once it begins to boil, place pumpkin pieces in mixture and keep at a low rolling boil. (It will not cover all). Stir and continue cooking until pumpkin is glassy looking (clear). (I neglected to time this, but it's a little over 30 minutes.)
Prepare your canning jars (boil lids and make sure your jars are clean and hot so that the hot liquid will not crack the jars.)
Store in jars, cover with juice and store in fridge.
For you to decide...whether you will take the cloves out so as not to stain the pumpkin, or leave them in the jars.  We eat ours so quickly, there is no time for the Kürbis  to be stained.

For those of you that don't waste anything...I've saved the seeds and I'll show you next time what you can do with them!


Till tomorrow,
debi
P.S.  For you Germans reading this...if you have other helpful hints or want to share you knowledge of Kürbis...please leave a comment for all of us to enjoy!  Thanks...

Saturday, July 17, 2010

Blackberry Cheesecake


I follow The Pioneerwoman (Ree Drummond)...like probably half the world!  I love when she's cookin' up something that I NEED to make.  (Isn't that just about EVERYTHING?)

She recently whipped up a Blackberry Cheesecake.  I'm thinking this will be the perfect ending to finish off my blackberry season.  This season has been wonderful, and the blackberries were large and juicy.

I won't bore you with all the details of how to make the cheesecake...you can find the step by step directions if you click on the link below.

The Pioneerwoman Cooks - Blackberry Cheesecake

I absolutely LOVE that there are pecans in the crust. 

I know my sister also LOVES nuts...and since today is her birthday I decided I needed to make her a cheesecake for the "birthday party" tomorrow.  We'll be celebrating her birthday and my daughter's birthday, and next weekend, another daughter's birthday.  We'll just celebrate all month!

The Cheesecake is out of the oven and cooling.


Ready now for the blackberry topping...


Now, ready to eat tomorrow as part of the birthday celebration! 

Till tomorrow...
debi

Wednesday, July 14, 2010

Easy Lemony Chicken

For the dinner last night I decided on Easy Lemony Chicken, served with garlic bread and a salad.  Easy, easy.
Here are the ingredients you'll need for this recipe.  (If you're wondering what's up with the sour cream...the container "jumped" out of the fridge and the bottom busted!)


Cook and shred four Chicken breasts.
Place shredded chicken in flat, greased 8x8 casserole dish. .


Mix together 1 cup sour cream, 1 can Cream of Chicken soup and 1 1/2 TBSP. lemon juice


 Spread the sour cream mixture over the shredded chicken.


To crumble the Ritz crackers for the top, I do it right in their little sleeve.  I hold it over the top of the chicken because sometimes the seam of the sleeve will burst.  Tonight..the cracker elves were with me and the paper sleeve held.


Mix Ritz crackers and poppy seeds. Sprinkle over top of casserole. Drizzle 4 TBSP. of melted butter (or margarine) over top of crackers.


Heat at 350 degrees until brown and bubbly. Usually only takes 20 minutes or so.  This freezes really well (before you bake it) in case you need to take it to "someone" in need!

When the girls were younger they always liked to receive the inside seal from the Daisy Sour Cream!
They have a nice saying and we always hung it on the fridge for inspiration.  Here's the indie of today's sour cream...


Enjoy!!

Till tomorrow...
debi

Easy Lemony Chicken Casserole

Ingredients:
4 Chicken breasts, cooked and shredded
1 cup sour cream
1 can cream of chicken soup
1 ½ Tbs. lemon juice
4 Tbs. butter or margarine, melted
1 Tbs. poppy seeds
1 pkg. roll of Ritz crackers, crumbled

Directions:
Place shredded chicken in flat, greased 8x8 casserole dish. Mix sour cream, soup and lemon juice and spread over chicken. Mix Ritz crackers and poppy seeds. Sprinkle over top of casserole. Drizzle melted butter or margarine over top.


Serves 4
Freezes well before baking.