Pages

Showing posts with label Project. Show all posts

Tuesday, July 10, 2012

Table Re-do with Homemade Chalk Paint

My friend Linda, from Rusty Pearls, uses Chalk Paint on all her lovely furniture. (Check her out on Facebook!) She has the perfect touch for paint, color and decoupage.
I love to re-finish and paint, but I haven't broken down and bought any of the chalk paint to try.  Of course I've also seen all the recipes for making my own...which of course, is what I did.


My first color mixture is a very soft gray.  I didn't want a stark white so I chose the lightest gray I could find to mix with my unsanded grout.  (I mixed 3 tablespoons of unsanded grout with 1 quart of paint.  I also did not follow the 'rules' and use a flat paint as suggested by many other bloggers.  I used a satin finish and I like the feel of my finished projects after I lightly sand them.)

Next...I bought a table that NEEDED to be refinished.  The top of this table has seen a lot of use.


I also got 5 chairs with this table, which I knew I would NEVER want to strip, sand and refinish.
Chalk paint appears to be the answer!


I did want to refinish the top of the table in a dark stain, because I also did not want to refinish the hutch I already have in my kitchen. Such dilemmas!


Hot or not...sanding is an outside activity.
We sanded the table top early morning, while it still "felt" cool.


Once the top was sanded I wanted to paint the edge of the table.  I used a blue chalk paint mixture for the rope and will paint over the whole area with the gray and then lightly sand to have the blue show through.


First coat of stain (I forgot to mention this great table also came with a leaf!)


While outside activities are drying, I started work on the base. 
Again...not going to sand or refinish. 


The detail work on this table was beautiful (and the base alone is HEAVY!)


I love red, white and blue.  Everyone that knows me can attest to this fact...so why would I not use my favorite colors on the base of this table.


My plan is the same as the edge of the table, cover the colored areas with the gray and lightly sand to have the color peek through.  Almost like it's been painted many times before.


Everything is dry and 3 coats of finish are on the table top.
Base is attached and I took the leaf out for everyday use.


Here is the finished base.  It has a wax coating (Johnson Paste Wax - Clear.)


I already have a set of press back chairs I've owned for many years.  They are painted red.


Here is a close up of how the table edge turned out.


My new press back chairs are all going to be painted gray.  The pressed areas are under-painted with the blue and lightly sanded.


The stain color for the top of the table fits perfectly with my dark hutch.


I think the new chairs painted gray will lighten the look of the kitchen...only 4 more to go!


I have several before and after projects I'll show you next. 

Till tomorrow...
debi

Saturday, September 24, 2011

Organization - clearing clutter

I have worked hard the last couple of days and the piles that had been placed outside the doorway of the sewing room have been dealt with.  Since all the girls are gone I now own the upstairs.

This large open area upstairs belonged to the girls when they were home, which now seems like years and years ago. It had been set up with a TV area on this end of the room and a study area with a desk and a computer on the other end of the room.  Now, I'm using it for craft storage and an art studio.


I have shelves and bookcases along the one wall with all my craft books and supplies.


I don't have all the drawers labeled, as yet, but that's next on my list.  I tackled each pile sitting on the floor by first separating out like things and putting them into stacks.  Each stack was given its own bin.  The bins will each be gone through one more time before they are finally labeled.
It feels tedious, but makes the larger chunks feel more manageable.


Embellishments, scissors, tools...all are in one place now. 


The one big project yet to complete in this room is finishing the trim on the edge of the couch.  I did slipcovers last year, but haven't added my ruffle to the edge as yet.  It is much more apparent now that it's "unburied" from the stuff that was sitting on the couch.


The opposite end of the room is set up as an art studio.  My husband and I both have a drafting table and our own cupboard for storage.


Once again, I unburied some projects that have not been completed, but they are now in the appropriate area just waiting to be finished!


The sewing room also got further organization.


Books and sewing magazines in their appropriate place.


Bits of this and that have their own home now.


I love all the large rick rack stored together.


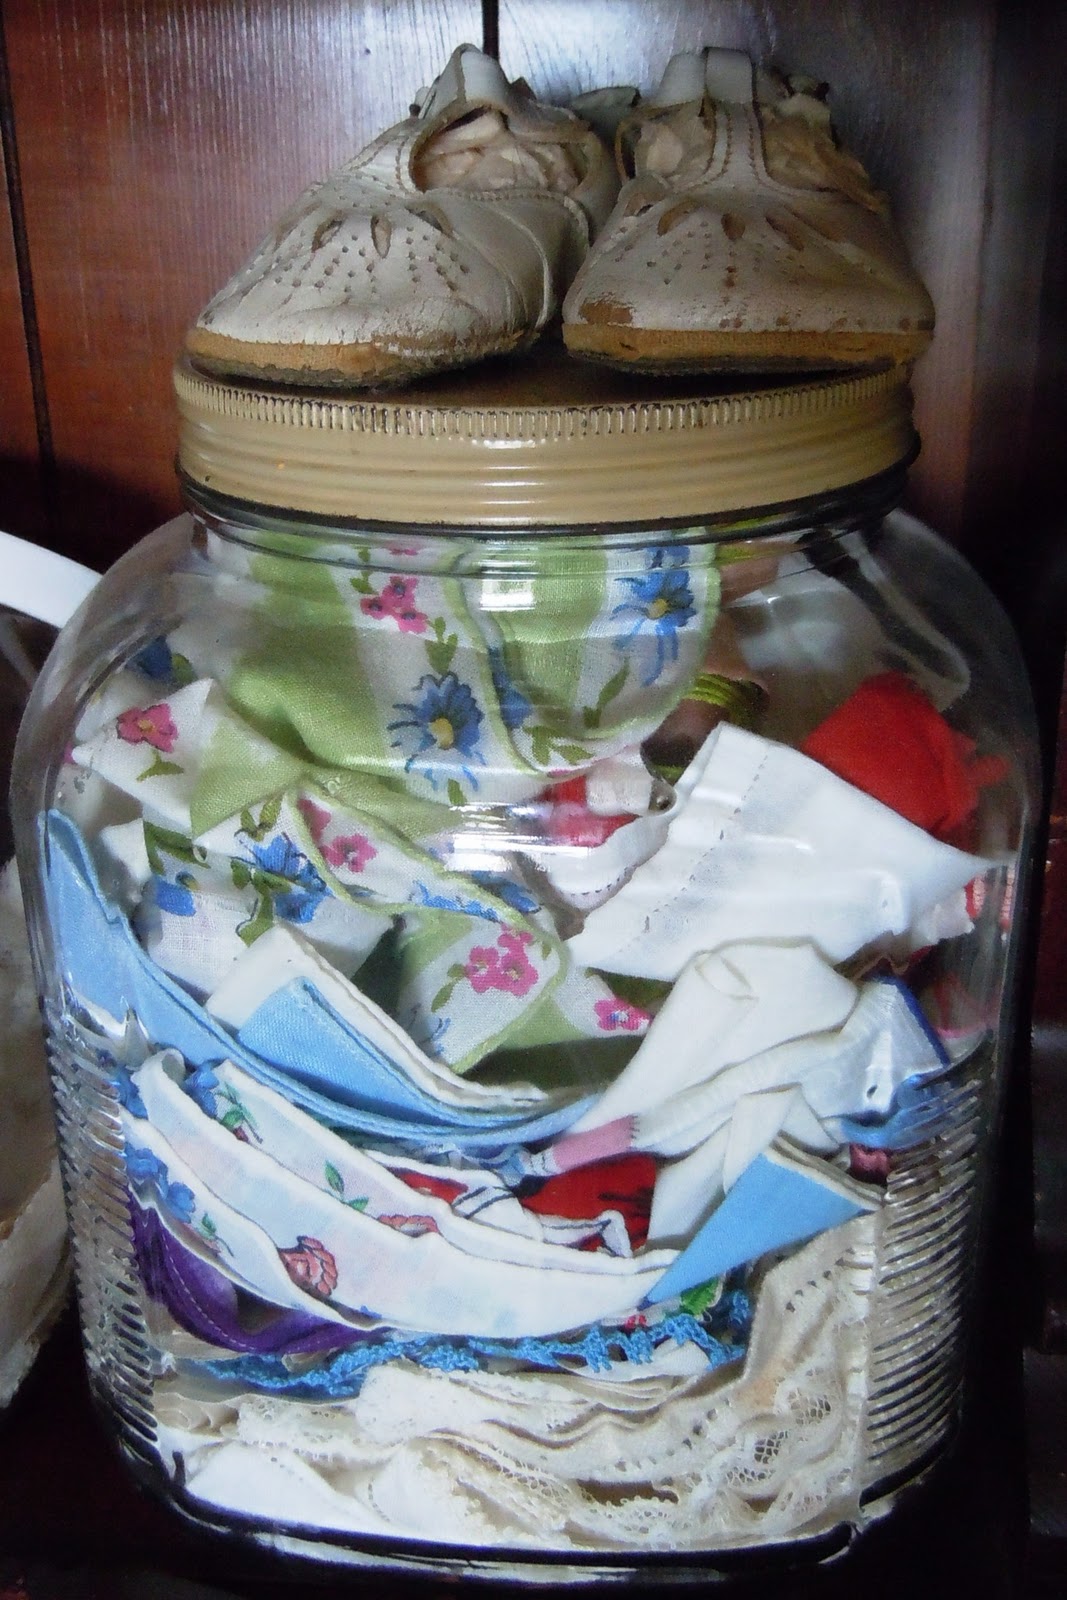
Sweet baby shoes with vintage handkerchiefs.


More storage jars for buttons, pins and small bits of lace.


I have some of my favorite vintage tablecloths and tea towels hung for a "visual" vacation and inspiration.


Old spools all seem to belong together.


My favorite bit of inspiration is my name tag from the Paper Cowgirl Art Retreat.


I also got the grandkid's room organized also.  There has been only one bed in here and there was a large cupboard for their toys...however now the toys are stored on shelves in the closet and I have room for each of the kids to have their own bed.


It's been very cathartic to go through each shelf and box and to actually throw some things out!
I have things that still need more organization within their boxes or bins, but I feel like it's now in manageable pieces and the job is not a huge, overwhelming task to be done.
I still have the guest room closet to go through, but most of that belongs to Emily and it will go home with her!


This small chest is my next project...it will hold some more supplies in my sewing room!
I won't have time to get to it until the end of October...got some vacation time coming and I'm going to enjoy just being away!

I want to thank Hollace who is always an encouragement to me!  She's the best and if you haven't met her you can stop by her blog and introduce yourself!
Her blog is Hollace the Mopsy.

Well, another long week, but I feel so much was accomplished!
till tomorrow...
debi

Wednesday, September 7, 2011

Another Project Completed

In May, 2009 I told you about my Canton Shopping Cart.  I have used my cart on many a trip to Canton.  It is invaluable and can make all the difference when you are shopping the more than 100 acres of vendors!
I was recently contacted by Miss J inquiring if I would be willing to make a liner for her cart...but in another color?
Of course!


Today, I completed the project.  Miss J's wants to have the new liner for the next First Monday Trade Days at the end of this month.

I changed up a few things...like adding a big pocket under the handle.  You can easily slide your small items into the pocket to prevent them from getting lost in the bottom of the cart.


I turned the loops into the inside of the cart and used Velcro to hold them in place so it would look more finished from the outside.


The small pink ribbons hold the front and back in place...but the best addition is a foam piece I placed in the bottom of the cart, between the two liners.  It never seems to fail...my first purchase in Canton always seems to be something fragile!  This will help soften the ride for the breakables as you bump along the roads at Trade Days.


I like the pink and yellow fabrics together.  I had three complimentary pieces, and used them all to finish the cart.  Hope Miss J is happy!  She'll be able to buy all kinds of goodies this month!


Happy shopping Miss J...
till tomorrow,
debi

Tuesday, September 6, 2011

Vintage Suitcases

I recently picked up these two small suitcases at a little shop in East Texas.  Both of them were in pretty sad shape.  Sometimes when you find them they've not been treated kindly.  Spills, mildew, mold...not good...but not to worry.
I clean them up and pull all the guts out to make them as good as new.  
Both of these cases had seen better days!.


The small square suitcase was made of wood, but lined with paper and fabric.
I pulled out all the lining and the paper that was glued inside.


 I was able to use the paper pieces as a pattern to rebuild the suitcase.  I cut new cardboard inserts and recovered them with fabric.  The elastic of the small pocket was totally ruined, so there was nothing worth saving.


I had some really cute stripped fabric in my stash that I wanted to use on the inside.


Just a small note (if you want to try this for yourself)...when pulling apart a suitcases, just note which piece you pull out first.  When you get all your pieces cut to size you will put the suitcase back  together using the last piece you pulled out first.


When creating the pocket, I used the selvage edge of the fabric to create a "ruffle".  This fabric was really heavy, so it will hold up nicely. 


The small train case was actually lined with paper rather than a satin fabric (like most suitcases.)  There was nasty mildew in the bottom, so it really was better to pull everything out and start fresh. 

I used a metlasse' on this case.  I had two complimentary pieces that added some contrast between the top and the bottom.


I can just imagine this small case filled with treats for a guest room!
Soaps, toiletries, wash cloths...


Both suitcases were thoroughly cleaned on the outside, then some vintage travel stickers added to give them a bit of a "round the world" feel!


I know a lot of people buy old suitcases as decoration, but I also like to refinish the inside.  There are so many uses for them, but not if they are stinky and dirty inside!

Two more projects completed!
Till tomorrow...
debi


Tuesday, August 2, 2011

Guest Room Makeover

It seems I've been working on swapping out two rooms forever!
This was Emily's room, before she left home, bought a house...then got married.  Time seems to have flown since she chose to paint her room in two tone colors with "humps!"


Rather than take the time to repaint the room, I just moved my office right in when Emily left!
Her room was large and it gave me the room I needed (wanted) to spread out and have work space for both working at home and for creating.


Over the last several moths we have talked about moving the office downstairs into what has been our guest room. Now that all the girls are gone there is really more privacy and room to spread out for guests upstairs
While I was away at the Paper Cowgirl Retreat, Peter moved the office out.


I knew it was time to paint.  I'm not thinking the "humps" we're really my style!
Of course...blue is my color, so blue it was for the walls.  (I also wanted a pale blue that would coordinate with the blue of the ceiling...yes...Emily painted every inch of her room!)


I wanted to create a restful retreat for guests, so I stuck with a white and blue pallet.  I used my grandmother's Martha Washington bedspread to cover the bed. 


I re-covered some extra large feather pillows with another Martha Washington that I'd picked up in Canton. It was in bad shape, but I pulled the fringe edge off to use as trim and had enough good sections to make some large pillows for guests to use for reading or watching TV.


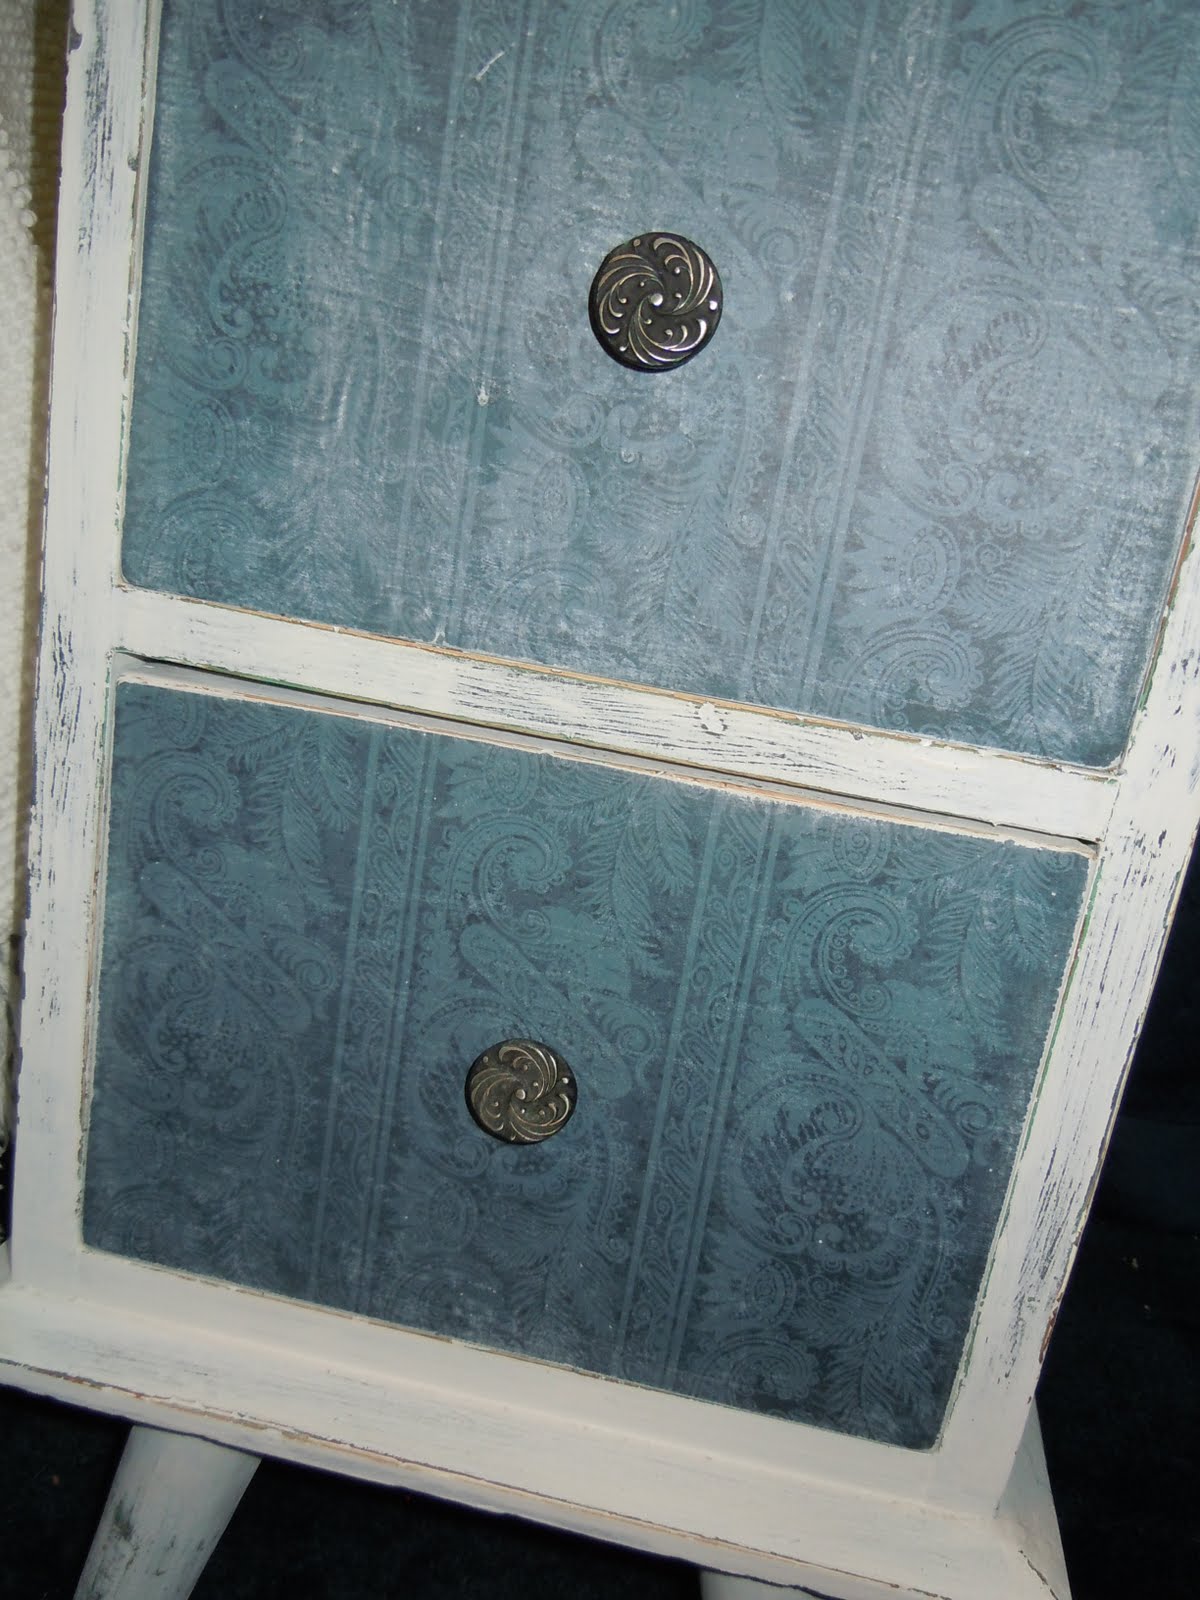
I had one nightstand when the room was downstairs (too tight a squeeze for two) so I picked up another small table to use for the second night stand.  It was already painted blue...which had been painted over another layer of green...you can see it peeking through!


I painted the whole thing white, then decoupaged scrapbook paper over the drawers to give it an added decorative touch.  I then distrissed the paper and the night table with the sander and also lightly sanded the knobs to take off some of the black they had been painted.


I think the nightstand is the perfect compliment to the bedroom


I love the amount of space this room has!  Guests have room to spread out, open their suitcase and stay awhile!  I think I'm ready for guests!

Till tomorrow...
debi